Potting mix is an essential ingredient for successful indoor and container gardening. It provides the necessary nutrients, drainage, and aeration that plants need to thrive. In this blog post, we’ll explore the different types of potting mix and guide you through using it effectively to nurture your plants.
Understanding Potting Mix
Potting mix, also known as potting soil, is a specially formulated growing medium designed for use in containers, planters, and pots. Unlike regular garden soil, potting mix is typically a blend of organic and inorganic materials, such as Peat moss or coir, Compost, Perlite, Vermiculite and Limestone.

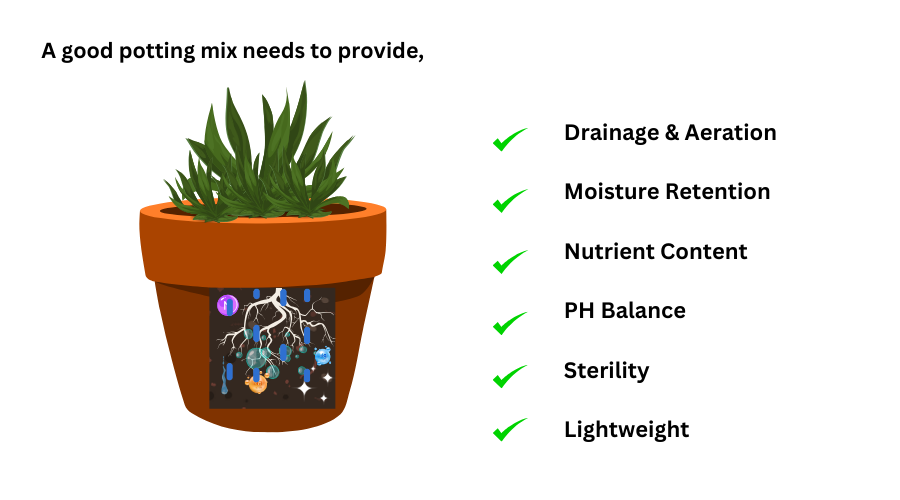
Drainage and Aeration:
The potting mix should be light and fluffy, not dense or compacted, to allow for proper drainage and air circulation around the roots. Ingredients like perlite, vermiculite, and coconut coir help improve drainage and aeration.
Moisture Retention:
It should be able to hold onto moisture, but not become waterlogged. Peat moss, compost, and other organic materials help retain moisture.
Nutrient Content:
It should be enriched with nutrients, either through added fertilizers or organic matter like compost, worm castings, or bark. This provides the necessary nutrients for plant growth and health.
PH Balance:
It should have a slightly acidic to neutral pH, typically between 6.0 to 7.0, to suit the needs of most indoor plants. Some plants, like orchids and succulents, may require a more specialized potting mix with a lower pH.
Sterility:
It should also be free of pests, diseases, and weed seeds to prevent issues for indoor plants. Sterile, soilless mixes are often preferred for indoor use.
Lightweight:
Especially for container gardening, the potting mix should be lightweight to prevent the containers from becoming too heavy, making them difficult to move and manage.
Preparing, Planting and Transplanting the Mix

Before using the mix, it’s important to properly prepare it. Follow these steps:
- Open the bag and fluff the mix to aerate it and break up any compacted areas.
- If the mix seems too dense or heavy, you can add a small amount of perlite or vermiculite to improve drainage and aeration.
- If the mix is too lightweight or prone to drying out, you can incorporate a bit of compost or aged bark to increase water retention.
- Gently mix the ingredients until the potting mix is uniform in texture.
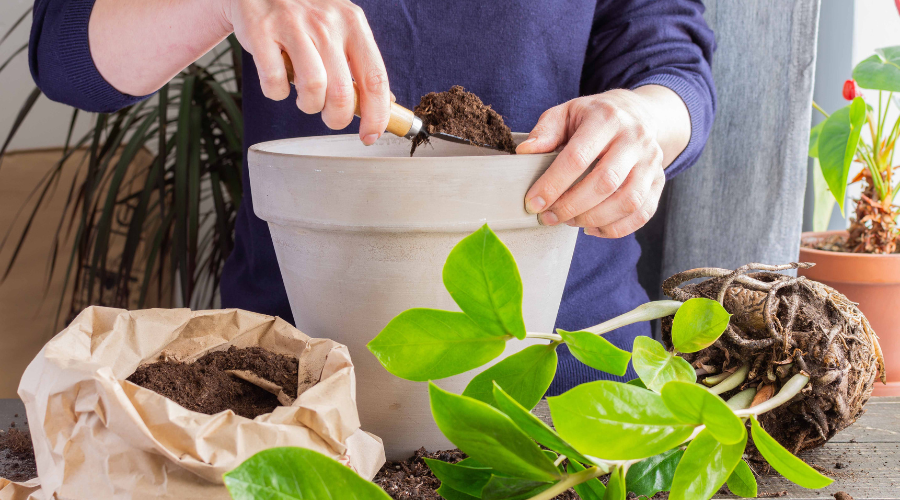
When planting new plants or repotting existing ones, use the prepared mix as follows:
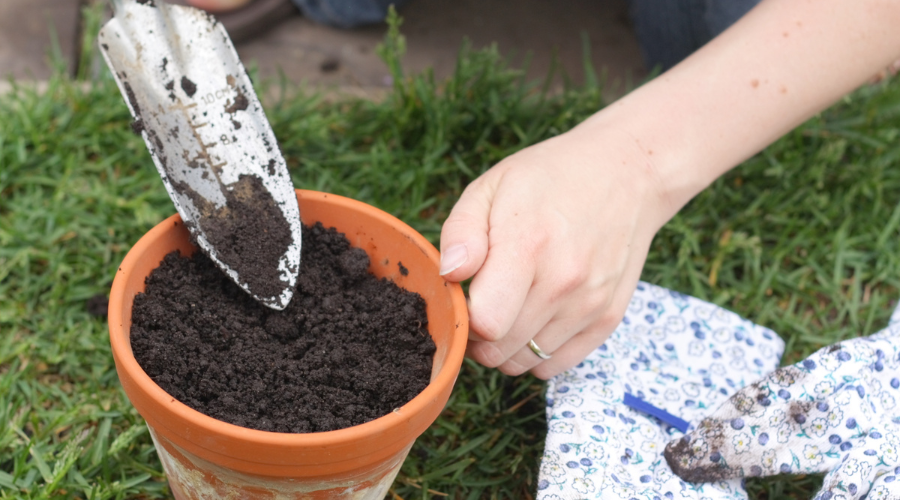
- Fill the container or planter with the mix, leaving enough space at the top for the plant and its root system.
- Carefully place the plant in the container, ensuring that the root ball is level with the surrounding soil.
- Gently backfill around the plant with more potting mix, taking care not to compact it too tightly.
- Water the plant thoroughly to help the potting mix settle and establish good contact with the roots.
Techniques for Rejuvenating Old Potting Mix
Instead of tossing out old or used mix, consider rejuvenating it to extend its life and reduce waste. Here’s how:
Start by Removing Old Plant Material:
Begin by carefully removing any old plant roots, leaves, and debris from the potting mix. This step is crucial as it helps prevent the potential carryover of diseases and pests.
Consider Sterilizing if Necessary:
If you suspect the presence of diseases, pests, or fungi, consider sterilizing the potting mix. You can do this by spreading the mix thinly on a baking sheet and baking it in the oven at 200°F (about 93°C) for 30 minutes. Alternatively, you can solarize it by placing it in a black plastic bag, sealing it, and leaving it in direct sunlight for 4-6 weeks.
Test and Adjust pH Accordingly:
Some plants have specific pH requirements. Use a pH test kit to determine if adjustments are necessary. You can add lime to increase the pH or sulphur to decrease it, depending on the needs.
Add Nutrients:
Mix in a balanced, slow-release fertilizer, compost, or well-rotted manure to add organic matter and nutrients like bone meal for phosphorus, green sand for potassium, or blood meal for nitrogen.
Incorporate Perlite or Vermiculite for Texture:
Add perlite for improved drainage or vermiculite to enhance water retention, depending on what your specific plants need and what the old mix is lacking.
Refresh with Coir or Peat Moss to Improve Structure:
To improve the structure and moisture retention of the mix, add coconut coir or peat moss. These materials help to aerate the mix and keep it loose, ensuring better root health.
Tips and Tricks
Optionally Mix in Sand (if needed): For plants that require excellent drainage, such as succulents and cacti, mixing in coarse sand or gravel can significantly improve the drainage capabilities of the potting mix.
Add Beneficial Microorganisms for Enhanced Growth: Consider mixing in mycorrhizal fungi or a commercially available soil inoculant to introduce beneficial microorganisms. These enhance nutrient uptake and promote healthier root development.
Moisten the Mix Before Use: Before using the rejuvenated potting mix, lightly moisten it. This step helps to activate the microbes and makes the soil easier to handle.
Thoroughly Mix All Components: Finally, ensure all components are evenly distributed throughout the mix by stirring thoroughly. Uniformity is important for providing consistent support to plant roots across the entire container.
Maintaining Potting Mix
To keep your plants thriving, it’s important to maintain the potting mix over time. Here are some tips:
- Monitor the moisture level and water the plants when the top inch of the mix becomes dry.
- Fertilize the plants regularly, following the instructions on the fertilizer package.
- Additionally, replenish the potting mix annually or as needed, mixing in fresh mix to replenish nutrients.
- Check for signs of pests or diseases and address any issues promptly.

In conclusion, the potting mix you choose is really important for the health and growth of your plants. By understanding the different types of potting mixes available and how to use them properly, you can really boost your success in indoor and container gardening.
Dive into these practices, and you’ll see healthier plants and enjoy your gardening even more. Here’s to great gardening!


