


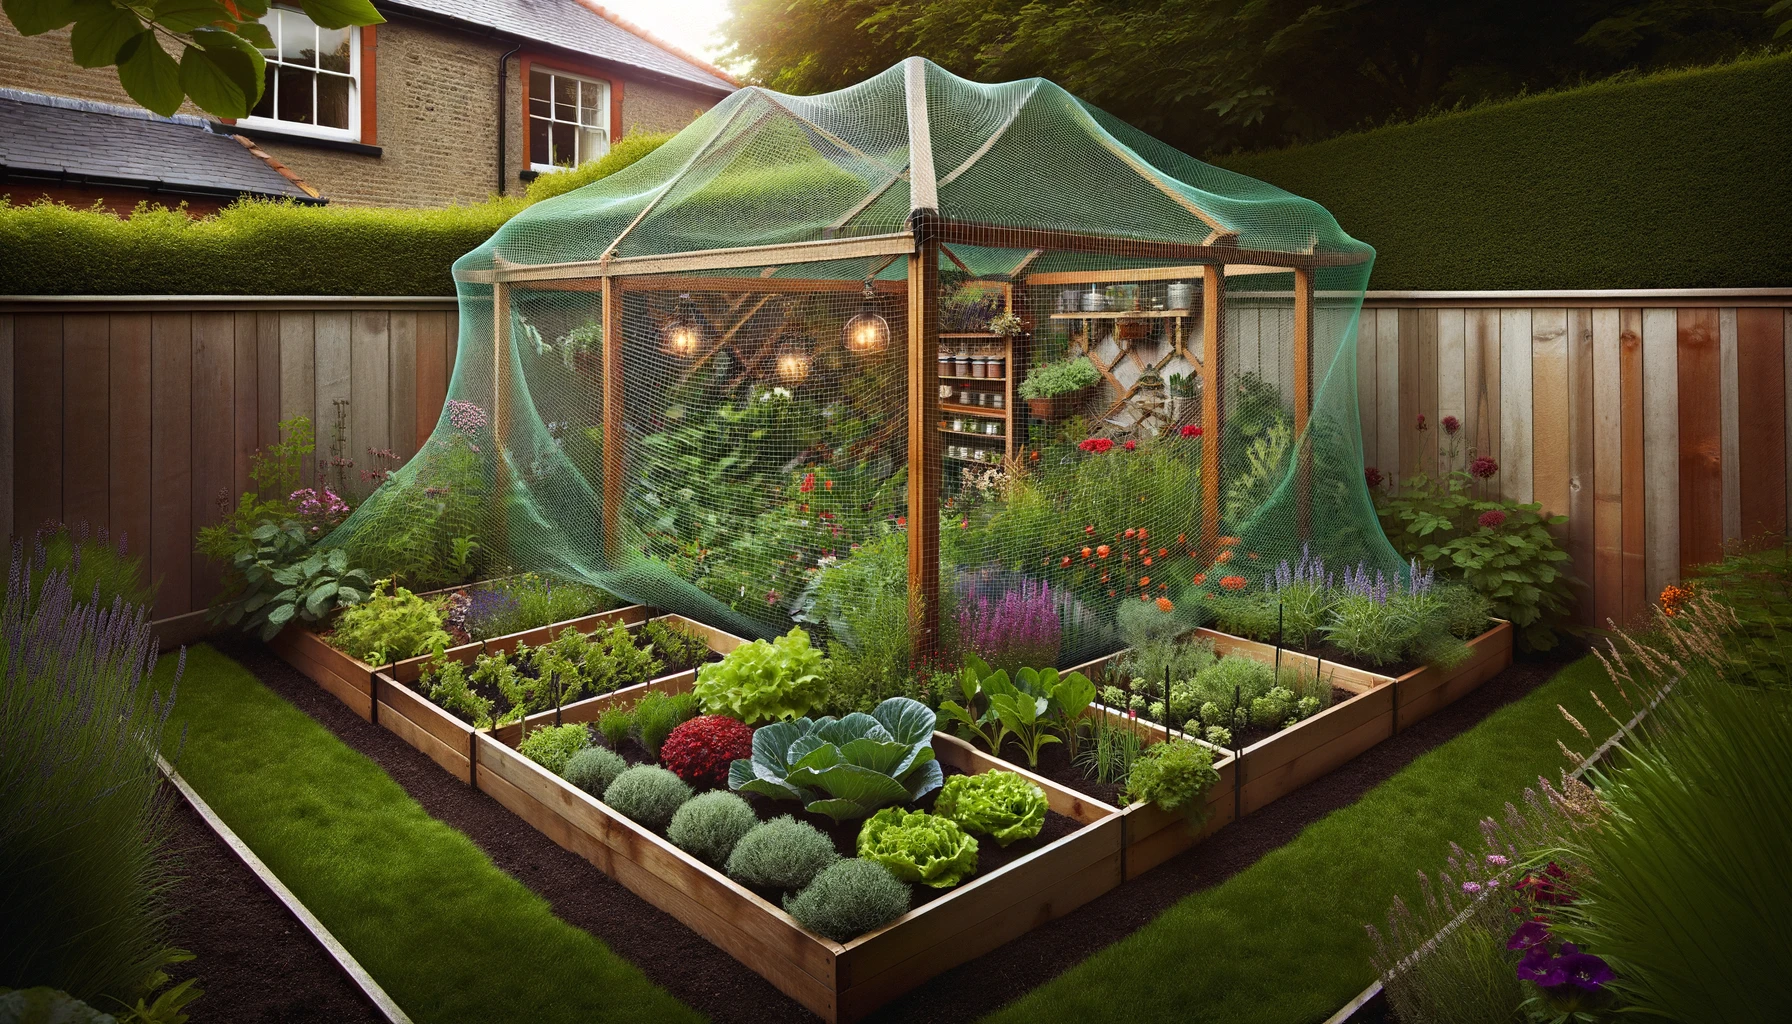
Bird netting is a simple and kind way to keep birds away from places they shouldn’t be, like your garden, farm, or buildings. It’s like a big net that stops birds from eating your plants or making nests where they can cause damage. Additionally, it doesn’t hurt the birds at all, which is great!
The most important part of using bird netting is putting it up the right way. If you do it right, the net covers everything without any gaps, so birds can’t sneak through. You’ve got to pick the right net for what you need, whether it’s keeping birds out of your veggies or away from a building.
Also, doing it the right way means your net will last longer and keep doing its job of protecting your stuff from birds. In this article, we’ll talk about how to set up the net step by step. Without any further delay, let’s get started!
Choosing the Right Bird Net
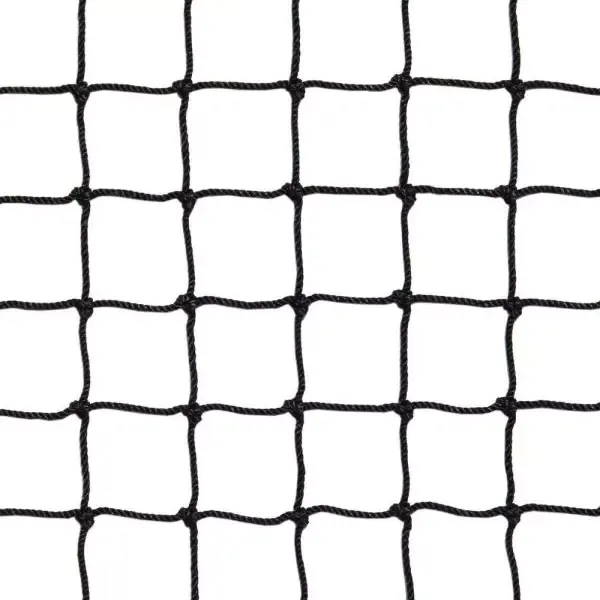
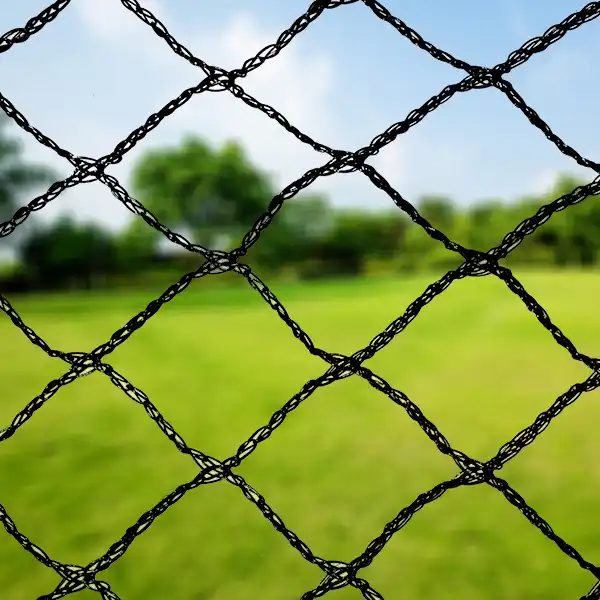
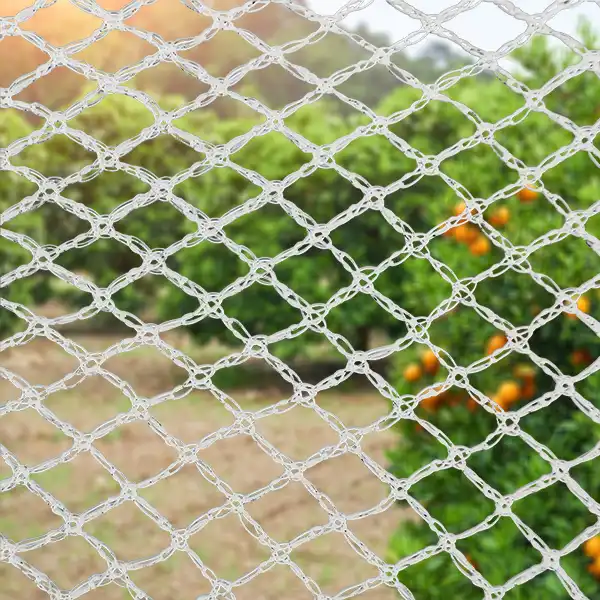
First off, when you’re out shopping for a net, remember they’re not all the same. Think about how big your space is, what kinds of birds you’re trying to keep out, and how strong the net needs to be. It’s kind of like finding the perfect outfit; you want it to fit just right. For more tips on selecting the best bird netting, check out the Guide to Choosing Bird Netting article.
Step-By-Step Guide to Install a Bird Net
Preparing for Installation
Step 1: Gather Your Tools
Before starting, collect all necessary tools and materials:
- Bird netting suitable for your specific needs
- Measuring tape to accurately measure the area
- Scissors or a cutting tool for trimming the netting
- Fasteners such as zip ties, hooks, or net clips
- A ladder for reaching high places
- Poles or a frame for a freestanding setup
Step 2: Measure and Plan
Installing the Netting
With your plan and materials ready, it’s time to install:
Step 3: Build Your Framework
This step is where your project starts to take shape – literally! Your poles, wires, or frames are the unsung heroes of the bird netting world. They’re what will keep your net suspended and functional. Depending on your setup, you might use sturdy poles at the corners of your garden or opt for a more intricate system of wires for larger areas.
Step 4: Lay Out the Net
Now, for the main event: laying out the net. Generally, this part requires a gentle hand and a bit of patience. Start by carefully unpacking and unfolding the bird netting. Find the corners and sides to understand how it will lay over the area. This is a good time to untangle any knots and lay the netting flat on the ground. Please read our “How to Stretch the Bird Netting” article to learn how to do it in the right way.
Step 5: Attach the Corners
Attach the corners of the netting to your chosen structure or frame, this can be a tree, a pole, or any solid anchor point. Use your ties or clips to fasten the net firmly to the support structure, pulling each corner tight to eliminate any slack. This ensures your net won’t sag or flap in the wind, providing a taut barrier against any bird looking to feast on your garden.
Step 6: Attach the Sides
Once the corners are secure, attach the sides of the netting. Use your fasteners at regular intervals to keep the netting taut and in place. Remember, the goal is to prevent birds from finding any loose spots to squeeze through.
Post Installation care & Maintenance
Step 7: Create an Access Point
If you’re covering a vegetable garden or fruit trees, then you might want to create a small access point for harvesting. Cut a small flap or use a separate piece of netting that can be lifted or moved aside.
Step 8: Final Check and Maintenance
Finally, Walk around the covered area and check for any gaps or loose spots. Adjust as needed. Remember, regular checks for wear and tear will help your bird netting last longer and remain effective.
By following these steps, you’ll create a protective barrier with bird netting that’s both humane and effective, keeping your spaces bird-free without causing them harm. It’s a straightforward process that requires a bit of planning and care to execute properly.

 Health Solutions