


Composting is truly amazing, isn’t it? It’s a natural process that turns everyday scraps into valuable food for our gardens, reducing waste and helping the environment all at once.
A lot of trash in dumpsites comes from kitchen scraps and yard waste. When you compost, you keep these things out of the trash. Composting can cut down on a home’s trash by about 30%. Dump sites make a lot of methane, a gas that’s not good for the air. So, less kitchen and yard waste in the dumps means less of this bad gas.
But if you are sitting there wondering how to dive into composting yourself, unsure of where to start or worried it might be too complicated, no worries at all. You’re in the right place! We’re about to break down the composting process into clear, easy steps. Whether you have a big backyard, small outdoor space or a balcony, we will show you how to get your compost pile thriving. Let’s explore the step-by-step process together and turn those scraps into garden gold.
Step 1: Choosing Your Composting Type
Finding the right composting method for your compost is the first and the important step. You will want to choose something suitable for your needs and space.
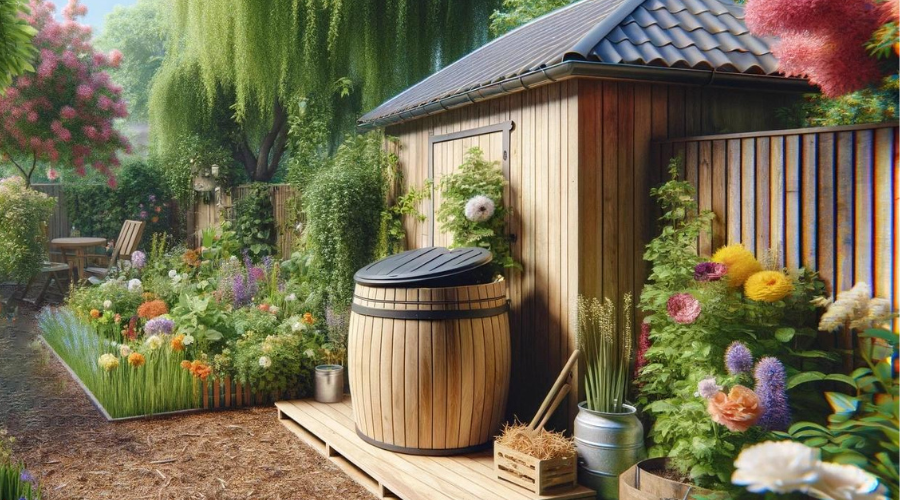
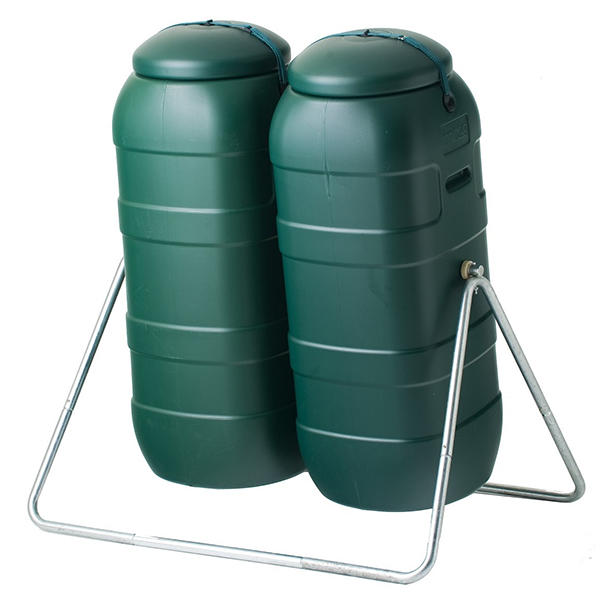
Outdoor Composting: Ideal if you have a yard or garden space. You can build or buy a compost bin or simply start a compost pile in a suitable corner of your yard.
Tumbler composting: For smaller spaces, you can use a compost tumbler, they are sealed containers that can be rotated. They are great for speeding up the composting process and are suitable for small outdoor spaces.
Indoor composting: If you don’t have an outdoor space, consider Bokashi or Vermicomposting (Worm Composting). These methods can be done indoors with minimal smell if managed correctly.
Step 2: Set up your Composting Site or Bin
You will want somewhere convenient, where you can easily add materials to the pile and turn it when needed. A spot with good drainage with a bit of shade is ideal for keeping the soil moist without getting too wet.
For Outdoor pile or Bin: Choose a dry, shady spot near a water source for easy maintenance. If you are using a bin, make sure it’s open at the bottom to allow for drainage and access for earthworms. And, if you are worried about the
critters, a bin with a lid can be a great choice.
For Tumblers: Place your tumbler in a convenient location, you will need to rotate it regularly to mix the compost inside, you don’t want it to be hard to reach.
Indoor systems: You want a place inside that’s not in the way but still easy to get to. This is important because you’ll be adding kitchen scraps to it regularly and you’ll need to do some simple maintenance from time to time.

Step 3: Layering your Compost
Now, let’s talk about building your pile. Successful composting requires a balanced mix of “Green” nitrogen-rich material for protein and a “Brown” Carbon-rich material for energy.
The brown materials act as a bulking agent, creating air pockets that allow oxygen to circulate throughout the pile. The green materials provide the necessary moisture and nitrogen for the microorganisms to break down the organic matter.
For Outdoor Piles/Bins: Start with a thick layer of browns – these are your dry materials like leaves, straw or shredded paper to absorb moisture and allow air to circulate. Then add a layer of greens – your wet,
nitrogen-rich materials like kitchen scraps, coffee grounds, and grass clippings. This layering approach helps promote airflow and decomposition.
A good rule of thumb is to aim for 3 parts of brown and 1 part of green. And don’t forget to add a bit of water to keep the pile moist as you build it up.
For Tumblers: Add greens and browns according to the manufacture’s recommendations, usually maintaining the same 3:1 ratio.
For Indoor Systems: Follow specific instructions for vermicomposting or bokashi, as these methods have unique requirements.
Step 4: Monitoring your Compost
Keeping an eye on your compost is important. You want it to stay moist, like a wrung-out sponge. This level of moisture helps the microorganisms thrive and efficiently break down the organic materials. If it gets too dry, add some water. If it gets too wet, add more browns to soak up excess moisture. You will also notice the pile getting warm – that’s a good sign! It means the microorganisms are hard at work breaking everything down.
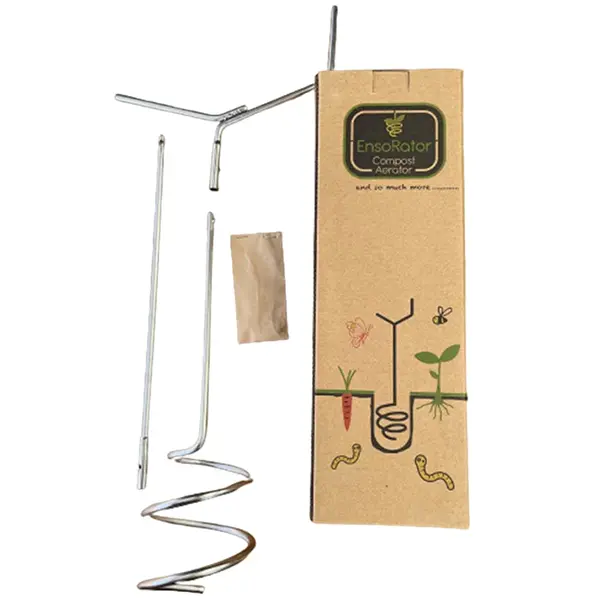
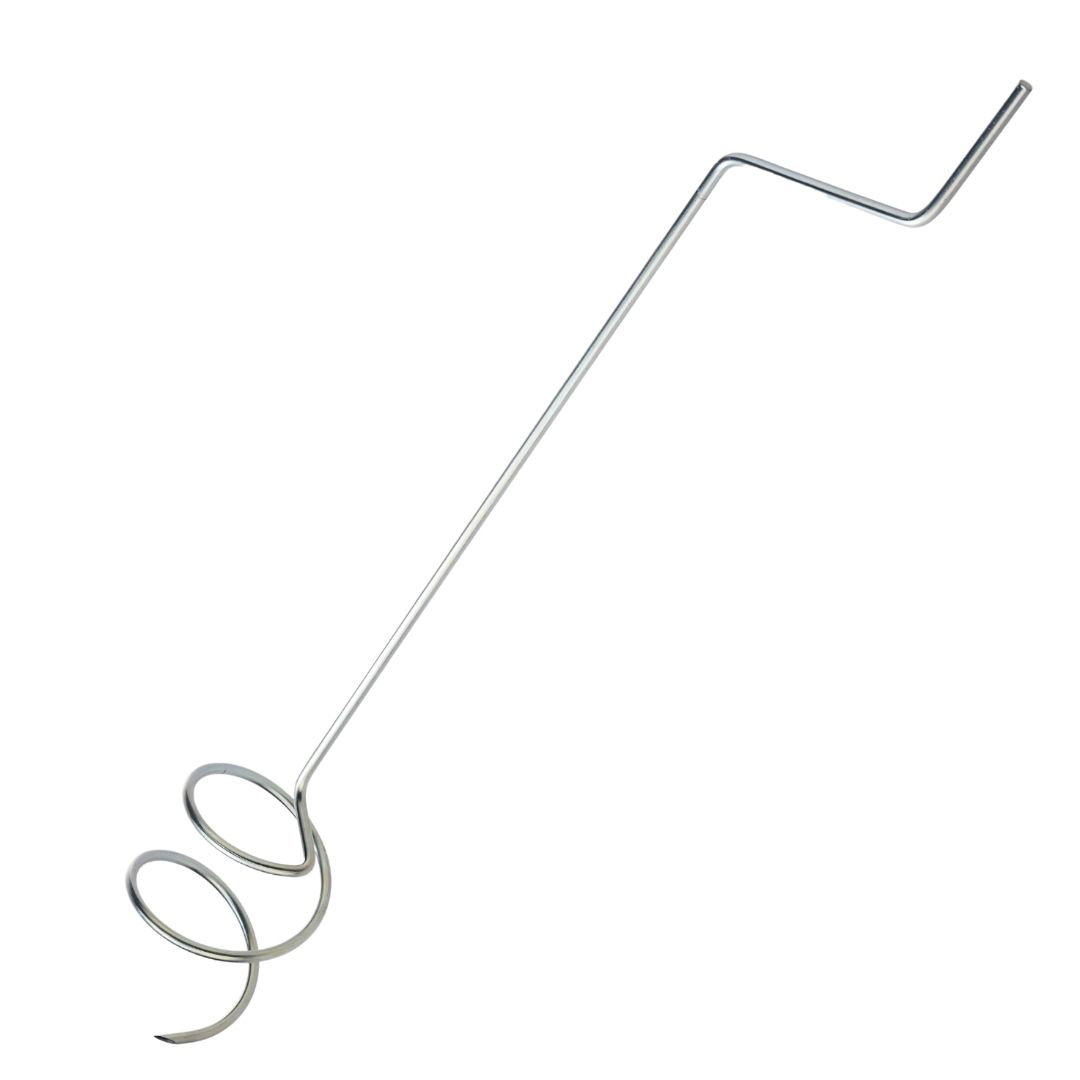
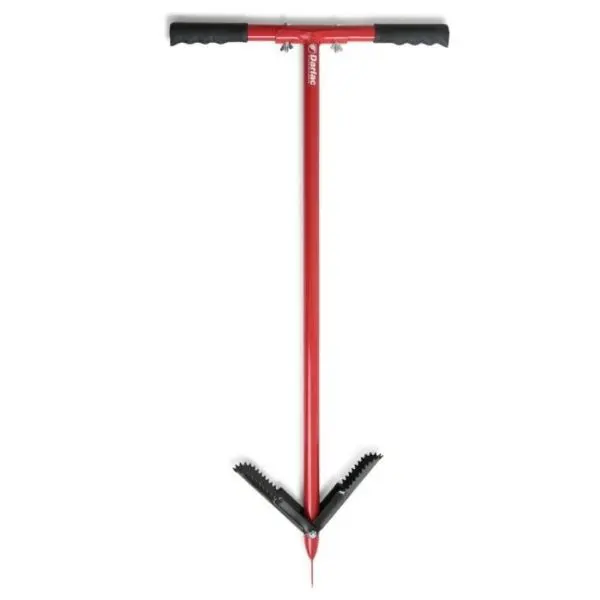
One of the keys to successful composting is air. Every few weeks, give your compost pile a good turn with a shovel or a fork or with a specialized compost tumbler. This helps get oxygen into the pile, which speeds up the decomposition process and prevents any nasty smells from developing.

Step 5: Harvesting your compost
After a few months, when your compost looks like dark, crumbly soil and smells earthy, it’s ready to use. You can mix it into garden beds or use it as a top dressing for your plants. Not only will you be giving your plants a boost, but you will also be doing your part to reduce waste and help the environment.
But, Remember composting is a gradual process, and it can take several weeks to several months for the compost to be ready for use. The exact timeline depends on various factors, such as the size of the pile, the mix of materials, the moisture level, and the frequency of turning. It’s important to be patient and allow the microorganisms to do their work, as rushing the process can lead to incomplete decomposition and suboptimal compost quality.


Troubleshooting
- Bad Smells: Usually a sign of too much moisture, not enough air, or too many greens. Turn the pile to add oxygen and add browns to balance it out.
- Pests: A properly maintained compost pile should not attract pests.
- Avoid composting meat, dairy, and oily foods, and bury food scraps under browns if you’re composting outdoors.
- Cover fresh kitchen scraps with a layer of browns like soil, dried leaves, or shredded newspaper to reduce flies.
- Use a compost bin with a lid, and consider a tumbler if pests are a persistent issue
- Slow Decomposition: Sometimes, compost takes much longer to break down than expected. This might be due to lack of moisture, air, or a proper balance of materials. Make sure you’re turning the pile regularly to introduce oxygen and check the moisture level. Chopping or shredding your compost materials into smaller pieces can also speed up the process. Ensure you have a good mix of greens and browns.
Wrapping it up
Composting might seem daunting at first, but once you get into the rhythm, it’s incredibly rewarding. Not only are you creating valuable food for your garden, but you’re also taking an active role in recycling and environmental stewardship. So, don’t hesitate to start your composting journey. With a little bit of patience and these simple steps, you’ll be a composting pro in no time!
 Health Solutions